Groups are everywhere! While we only had real groups some years back, today there’s a complete shift and we mainly come across virtual groups! Talk about a fan club, there are thousands of virtual groups but you would not see many in the real world!
So, why this shift? Well, people prefer connecting with each other virtually, because then they are not bound because of time or place. They are free to talk whenever they want and it has made our life way easier.
Talking about communication, I am sure all of you have a lot of Facebook groups or WhatsApp groups for that matter! So, why is it that we prefer these groups? It is because it saves the time we spend on communication.
The same message can be delivered to a lot of people together. We no longer need to send it to each of the contacts in our list and thus we can save our time! And now that you already know the importance of groups, how about having E-mail groups?
Well, that exists for real! With Gmail, you can even make email groups, i.e. you can deliver the same email to all of your selected contacts in one go!
Gmail never fails to impress me, and with this feature, I am sure you will have no complaints!
In this article, I will be giving step-by-step instructions to help you create a group email in Gmail and thus save you time! Let’s begin!
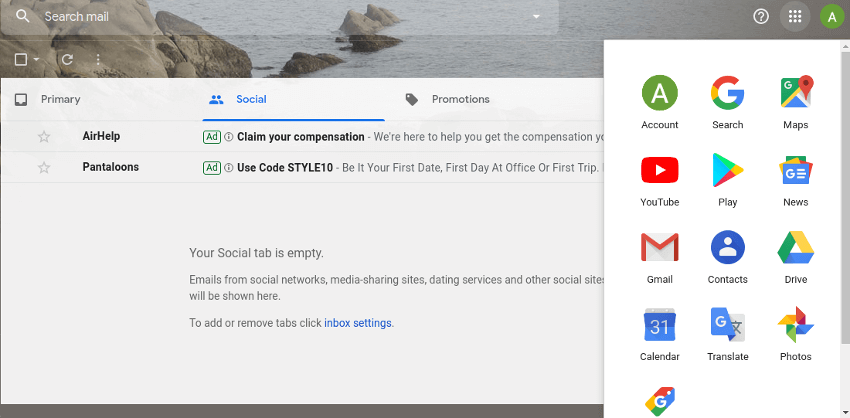
Step 1: Log in to your Gmail account. Once your Gmail account opens, click on the Google menu which appears on the top right corner of your screen. It’s a square matrix. Here, click on “Contact”.
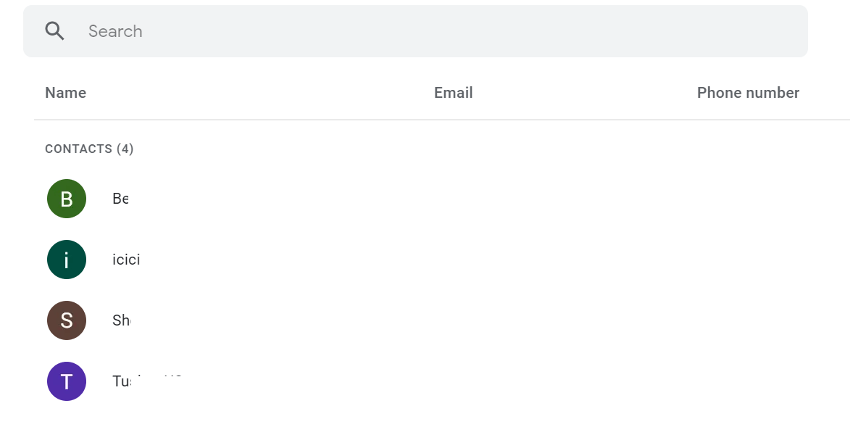
Step 2: A page like below will open up, where you can see the list of contacts with their Email Id’s and phone numbers.
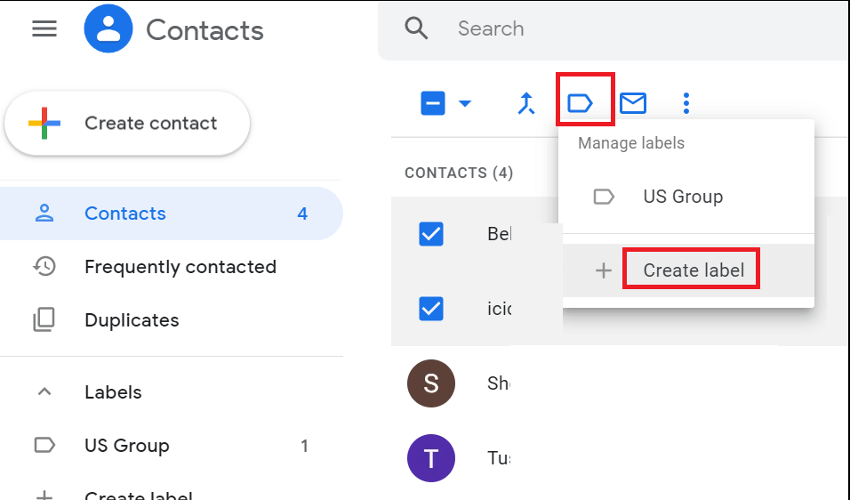
Step 3: Once you take your mouse cursor onto the contact, a checkbox will appear. Check the checkboxes for all the contacts that you want to be included in a group.

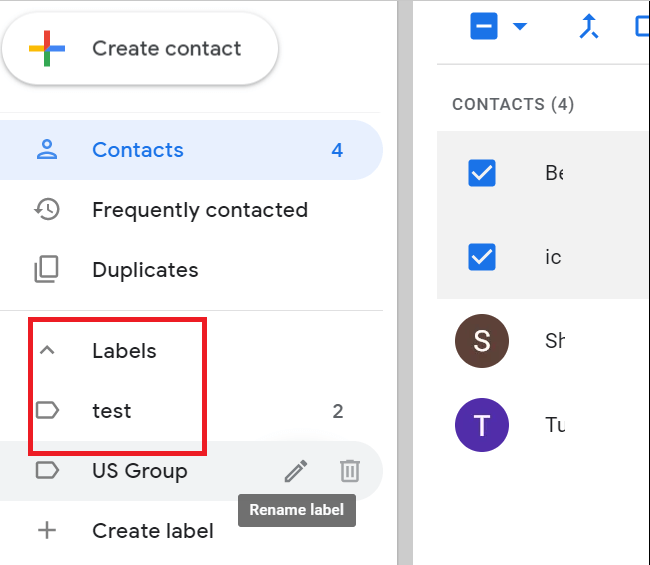
Step 4: Click the “Manage Labels” icon from the top (as highlighted below) and then click on “Create Label”.
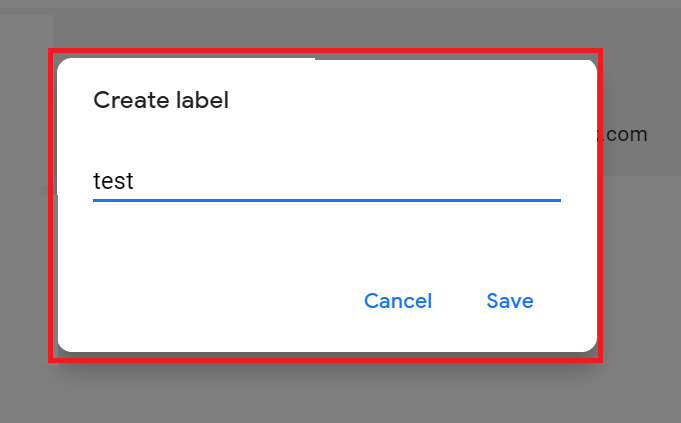
Step 5: Create a new label and give a name to the group. Here we have named it a “test”. Click the Save button.
Step 6: The newly created group will now appear under the label section on the left panel of the screen.
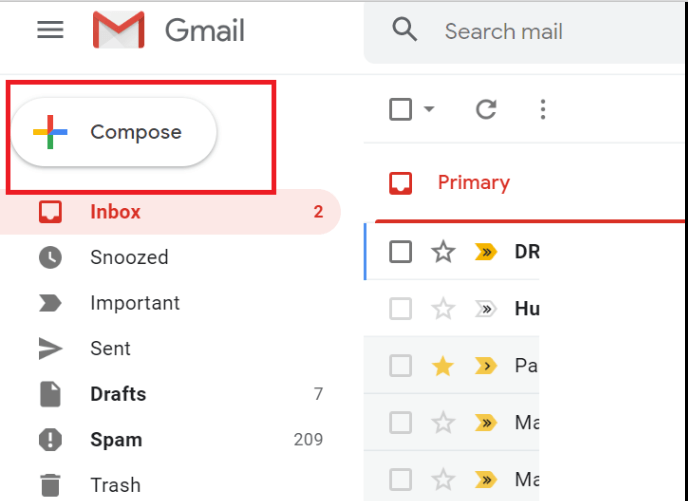
Step 7: Now, to send an email to this email group, simply compose the mail by clicking on the “Compose” button on the left side of the screen.
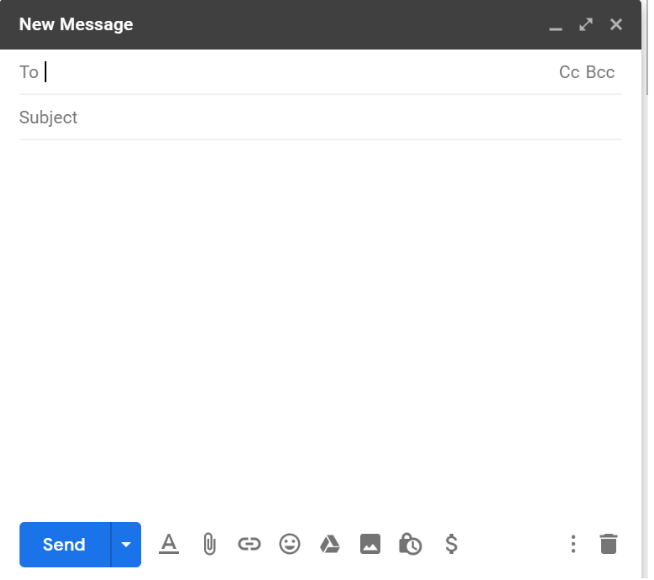
Step 8: The “New Message” window opens up like below.
Step 9: In the “To” box type the name of the group created above (here “test”), and it will add all the contacts that you had labeled as “test”. Done!
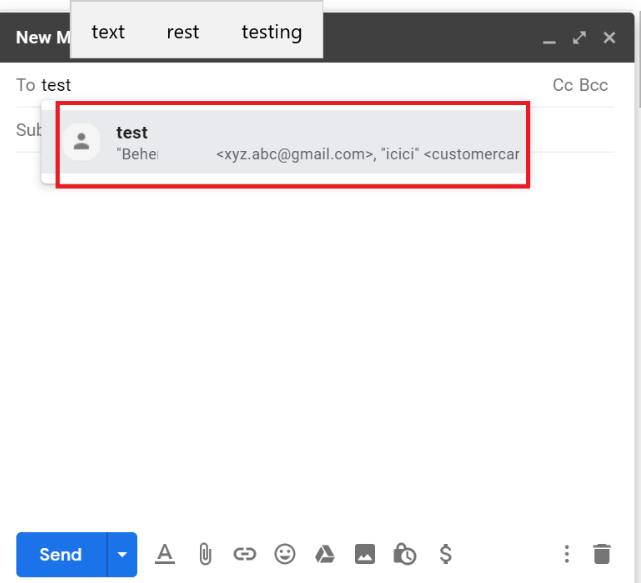
Now you can easily send emails to a lot of contacts in one go and that too for free! You will not have to type each of the email IDs separately!
Please do let us know if you liked our how-to article on creating a group Email. In case you are looking for more informative articles or how-to articles, feel free to write to us.
You can fill up the feedback form below, and we will surely reach out to you at our earliest! Till then, happy emailing!