Have you ever thought of working on Google’s Chrome OS? We all know that it comes pre-installed only with Google’s Chromebook which might not be affordable by everyone.
Fret not, you do not certainly need to buy another laptop to experience this amazing Operating system announced in July’2009 by Google and developed on the basis of Linux Kernel.
Developers have found out a way to run Google OS without overwriting your existing Operating System, be it Windows, Mac or even Linux. The Google OS can work parallel to your existing Operating system, directly from your USB drive.
Follow the step by step guide after fulfilling the pre-requisites and you will be able to run Google OS from a USB drive.
Pre-requisites:
- A USB drive with minimum 4GB of storage.
- The computer where you want to run Google OS must have a USB port.
- A Zip Extractor as per your OS (p7zip for Linux, Keka for Mac and 7-zip for Windows, all of them being free Apps).
- Etcher, as a free program for burning images, used for Windows, macOS and Linux.
Installing Google Chromium OS in USB Drive
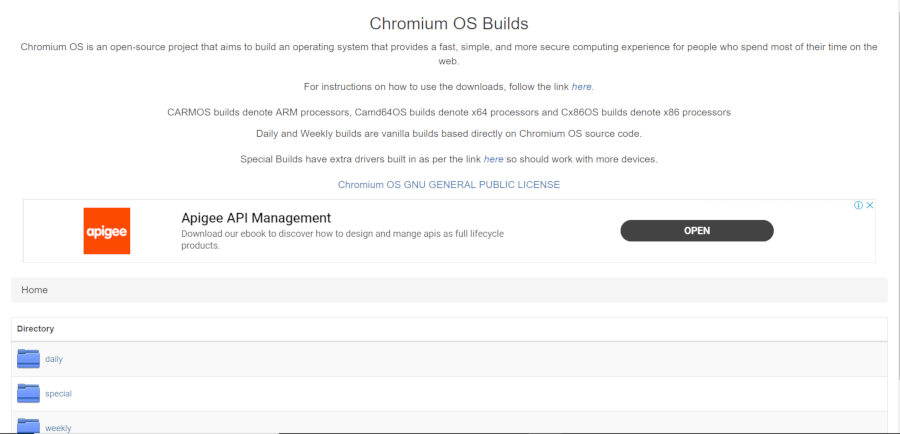
1. Google does not provide any official Chromium OS build, so you have to choose an alternate source like Arnold The Bat to download the Chromium OS.
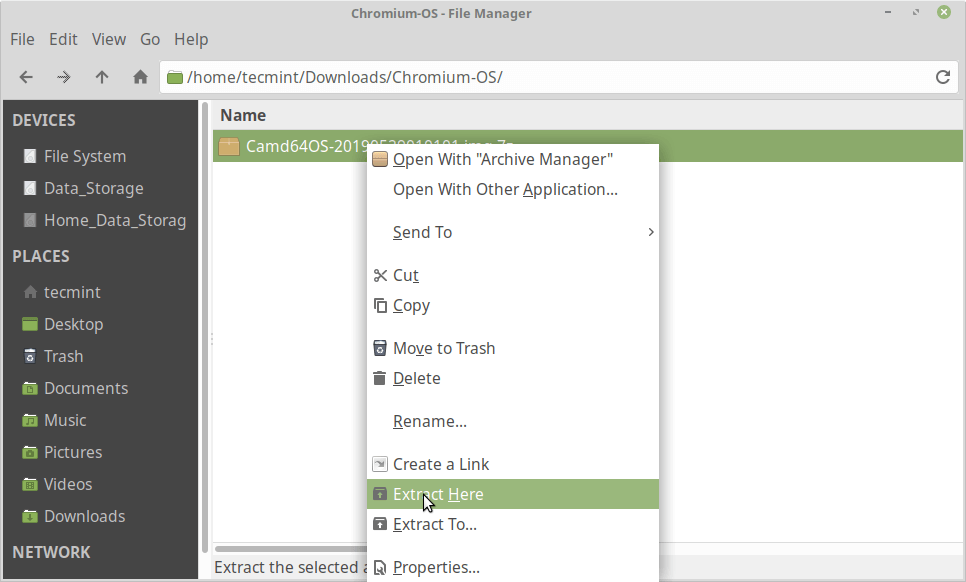
2. Extract the downloaded Zip file using the compatible Zip extractors among the ones mentioned above.
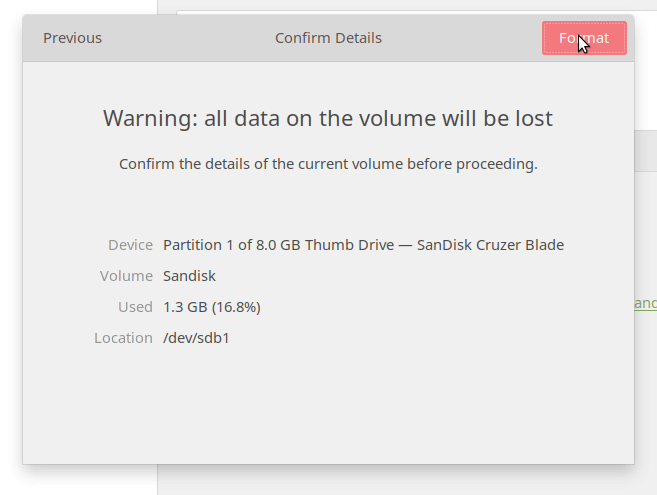
3. Now connect your USB drive to your computer and format it.
4. Once you formatted USB drive, now you can write the Chromium OS IMG file to USB drive. If you’re using Linux, open the terminal, run the following command (where sdb1 is your USB stick and path to the IMG file you extracted):
$ sudo dd if=ChromeOS.img of=/dev/sdb1 bs=4M

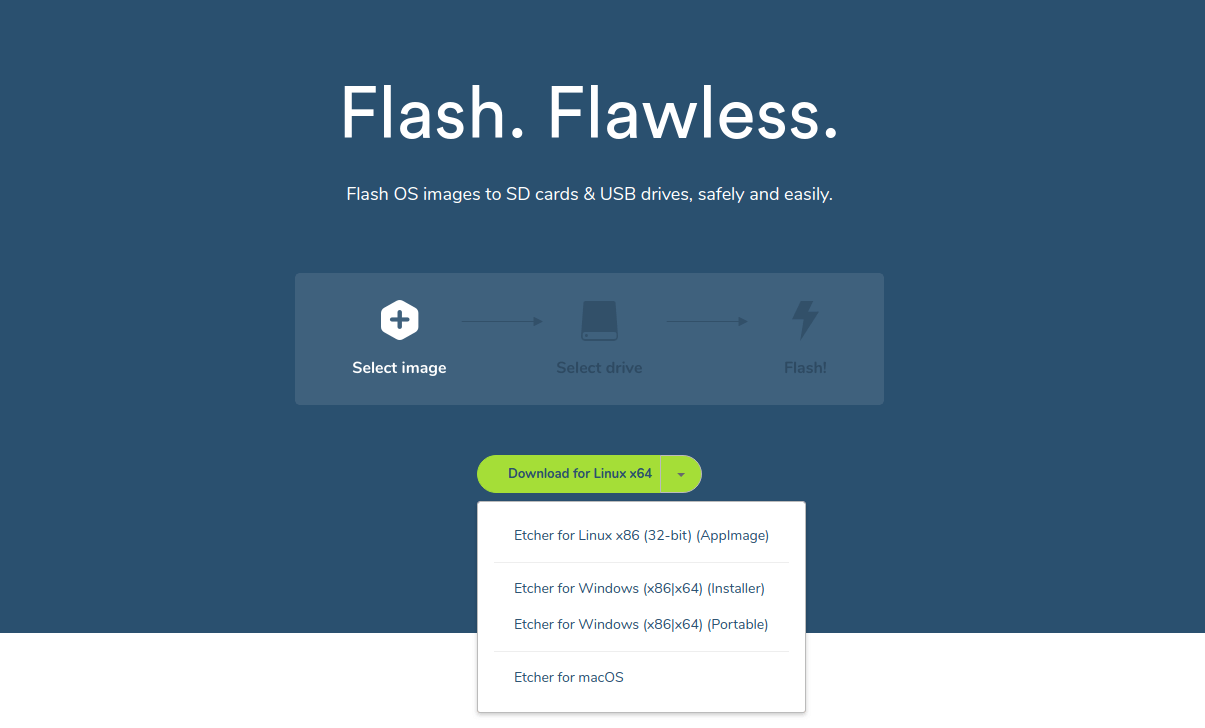
5. If you’re not familiar with terminal, you can download Etcher utility to write image to the USB drives, as Etcher is the most recommended software because it can work on Windows, Mac and Linux in the same way.
6. Launch Etcher once it is installed. Click on “Select image” to go to the location were the Chromium OS file is located. Select the file and click on “Add”.
Now, click on “Select Drive” to select the path of the USB drive where the OS image has to be burned. Finally, click “Flash” to start the burning process.
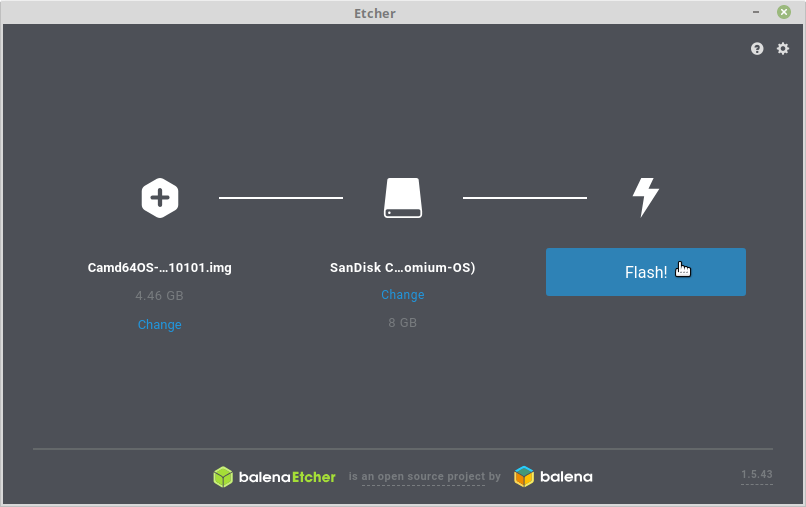
Another great feature of Etcher is, once the image has been created on the USB, it verifies everything so that any error can be avoided. Once it verifies and displays a message saying “100%”, you will get a bootable USB drive prepared, containing Chrome OS.
7. Now restart your computer system to start booting it with the USB drive.
The drive which should be used for booting the OS used in your computer can be chosen and selected according to the OS that you have been using. It can be booted from a USB drive, a hard drive or even a DVD drive.
For Mac computers, to go to the booting option screen, press and hold the Option key when the Mac computer shuts down and restarts. Hold the key until the booting screen appears and then choose between Macintosh drive or the mentioned USB drive (denoted as “EFI”).
For Windows and Linux computers, you can click F5, F8 or F12 to go to the “Boot Options” when the system restarts.
Once you have chosen the USB drive as the booting option, your computer system will boot from the drive and run on Chrome OS.
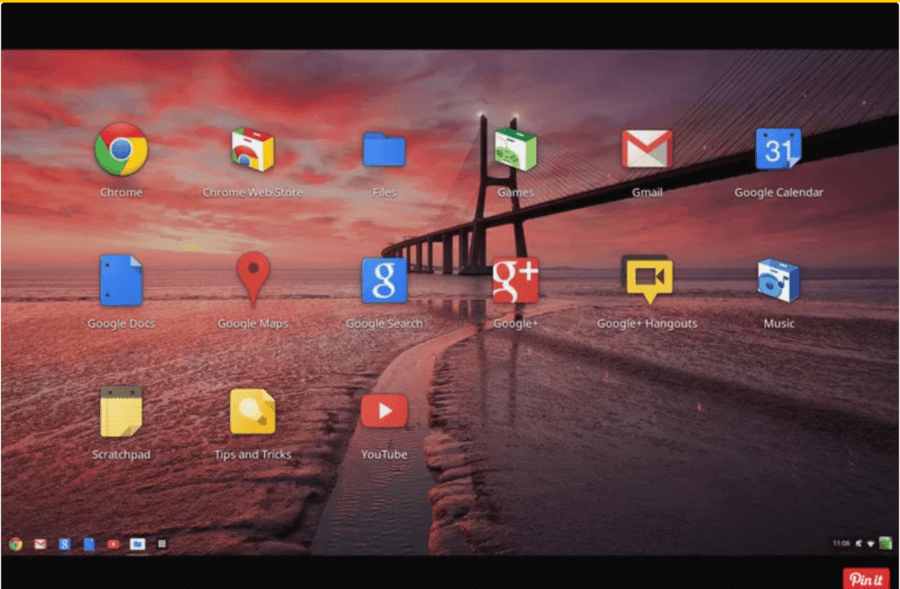
You will need to set it up with your Google account as you will be using it for the first time, after which it will directly take you to the home screen every time you boot it from the USB drive.
This is how easily your desktop can be converted to a Google OS without spending even a single penny, along with your existing OS, whether it is a Windows, Linux or a Mac PC.
Didn’t mention that on MacOs which Format and Scheme to choose when formatting.
second time to boot up after powering down, it does nothing. Pretty useless.
Thanks Ravi. How did you get all the app icons, such as the GSuite, on the screen? I only seem to be able to use Chromium (browser) and settings.
What monospaced font is that in the screenshot?
Another waste of time from FOSSMint. I created the usb as shown, but it doesn’t boot. Per the comments on ArnoldTheBats website, quite a few people have the same problem. The only response is ‘It will work on certain computers.’
But there is no list of which computers that might be…
What’s the point?
It doesn’t support Gooogle play store!
So do changes persist on the USB, and does it support crouton/crostini/Linux containers?